
The Wooden Series
Owners Manual
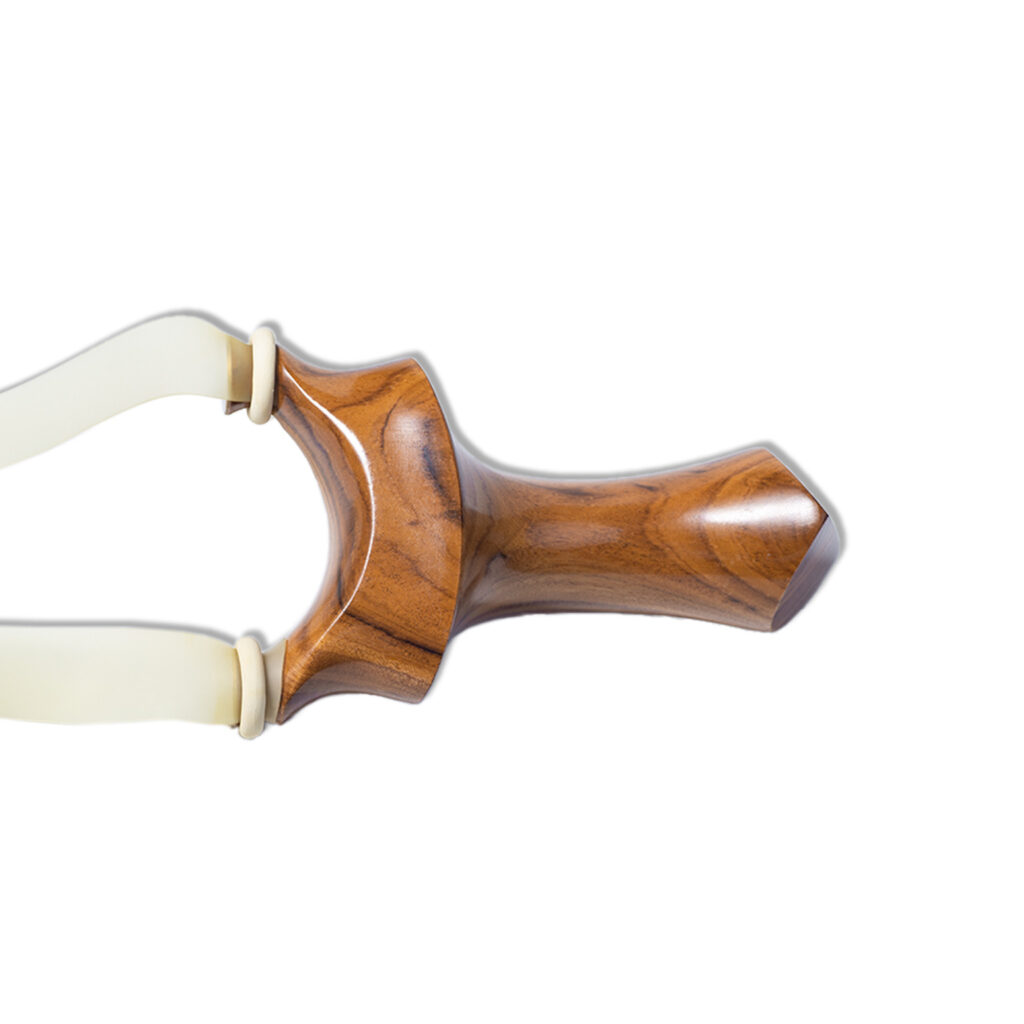
Zetterrank Exclusive patented design.
The slingshots in this series are made entirely of high-density, high-quality wood and are easy to install. But don’t underestimate it. It’s just as powerful.
GET TO KNOW YOUR SLINGSHOT
Welcome, and congratulations on your new purchase! This comprehensive owner’s manual is your essential guide to unlocking the full potential of your slingshot. Our primary goal is to ensure you can set up, maintain, and operate your equipment with complete confidence and, most importantly, safety. We will meticulously guide you through the initial assembly process, from attaching the bands to the fork and ensuring a secure connection to the ammo pouch. Proper setup is the critical first step toward consistent performance and safe operation, a philosophy deeply embedded in our design principles, especially within our Wooden Series Manual guidelines.
Following the setup instructions, this document will provide detailed information on proper shooting stances, aiming techniques, and the correct draw and release motions. We will also cover vital safety protocols, including the importance of always wearing protective eyewear, selecting a safe and appropriate backdrop for target practice, and inspecting your equipment before each use. The durability and craftsmanship of your slingshot are key to its longevity, and the maintenance section of this Wooden Series Manual will show you how to care for the wood finish and check for wear on the elastic bands to ensure optimal function for years to come.
For those who prefer a visual walkthrough, we highly recommend keeping scrolling beyond this text. You will find our detailed video owner’s manual, which provides a real-time setup demonstration. Watching the entire process can greatly clarify the steps outlined in this written guide, reinforcing the best practices we advocate. This multi-format approach to instruction ensures that every user, regardless of their learning preference, can become proficient. We are committed to your success and safety, a commitment detailed throughout this and every Wooden Series Manual we produce.

STEP 1
- Slip the rubber ring in

STEP 2
- Pull down the rubber ring and prepare to install the rubber band
STEP 3
- Fix the rubber band with your left hand and push the rubber ring up with your right hand. The installation is complete
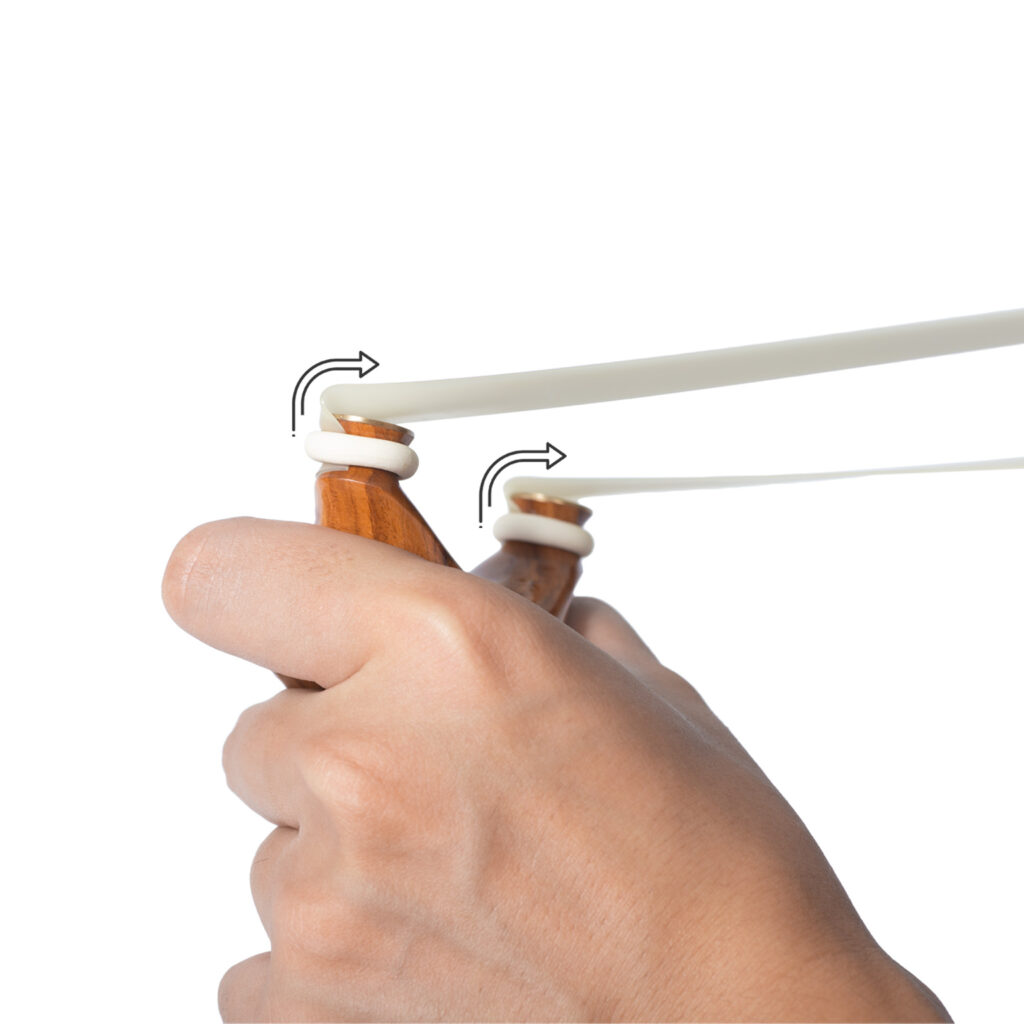
STEP 4
- Pay attention to the direction of the rubber band, the direction shown in the figure is correct. If you go in the wrong direction, the rubber band will fall off.